Docker
Docker is an open platform designed for developing, shipping, and running applications using containerization. At a high level, it enables users to package an application and all its dependencies (code, libraries, system tools, runtime, and configurations) into a standardized unit called a container.
Deployment before Containers
- Each developer needs to install the services and dependencies locally on their OS on their laptop (Redis, Database, Messaging, etc)
- Installation on different OS (Mac vs Windows) is different
- Prone to error as the setup can be difficult especially if your application is complex
Deployment with Containers
- With containers like Docker you don't have to install all of the services independently on your OS instead these services come packaged with the application in an isolated enviornment
- Docker also allows you to run different versions of an application without any conflicts (ie. Redis 4.1, Redis 4.2, Redis 4.3, etc)
VM vs Docker
- Docker only contains and deals with the OS application layer
- VM has the container layer and the OS Kernel
- As a result Docker packages are a lot smaller since they only have to implement one layer of the OS and they are faster to start up since VMS have to boot up the OS Kernel
- VMs are compatible with all OS but Docker is only compatible with Linux OS for example if you have Linux Docker file it can run on a Windows machine because the Windows machine has the Windos OS Kernel
Docker Desktopnow lets Linux Containers work with Mac or Windows OS. Docker Desktop uses a hypervisor layer which has the Linux kernel that is needed.
Docker Images vs Docker Containers
-
Docker imageis the artifact that we create that has the application and all of it envionrment dependencies that we can then upload to an artifact repository so another server/person can download and run it & it is executable -
Docker Containeris a running instance of an image. Basically the server or host or machine that runs the image becomes the Docker container - You can run multiple containers from one image -
docker images: Command to see all the images that you have in your docker instance docker ps: See your running containers
Docker Registry
- Registries are places that have premade docker images stored
Docker Hubis Docker's officially registry: https://hub.docker.com/
Image Versioning
- New versions of the application require new versions of the docker image and these versions are called Tags
- All images have a tag called
latestwhich indicates it the newest version of that image. If you don't choose a specific version you get latest by default
Getting Images
- Search for the image (package) that you need from a Registry
- Then run
docker pull {name}:tag - You didn't have to specify the registry here because DockerHub is the default location where it searches.
Running Images
- To run images you just need to use this commmand:
docker run imageName:tagnNumber -
Running the container using this command runs it in the foreground which means your terminal is now blocked
-
Using
-dflag will run the container in the background and it will give you the full process ID -
docker run -d name:tag -
To see Logs while running containers in the backround:
docker logs containerID(you get this from docker ps) -
You can skip the docker pull command and just run the docker run for an image that you don't have locally as long as that image is found in DockerHub
Port Binding
- When you run a container like the above without mentioning a port then you can't access it since its running on the enclosed Docker network
-
We need to expose the container port to the host that is running the container
-
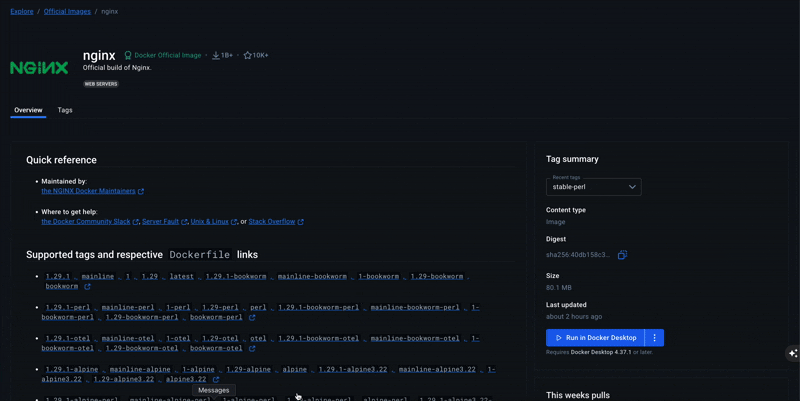
Port Binding: is when you bind the containers port to the host port so that you can access the container. For example, nginx runs on port 80 and that is standard for this application. -
Stopping Containers =
docker stop containerID -
To bind the port:
docker run -d -p hostPort:containerPort name:tag - the -p is what is used to bind the port and it uses {host port: container port}. Now if you go to localhost for example on the host port you define you will see the running container
-
Only one service can be tied to a port if you try to run another docker run for a different service on the same port you will get an error
-
To stop a container you run:
docker stop containerID
-You should match the host port to the same one that the container uses
All Containers
- Even though you stopped containers they still exist and
docker rundoes not reuse containers it creates a new one to see a list of all containers running and not running you can run:docker ps -a -
the -a flag means all
-
Restarting a Container that was previously stopped:
-
docker start containerID -
Using Container Names - When running these docker commands we reference the docker ID but we can also use the
container namewhich is usually auto-generated by docker but you can change this value: - to manually name the container you need to run
docker run --name giveName -d -p 8080:80 name:tag - the --name is what you use to give it a specific name
Private Docker Registeries
- These are images that are created in-house by companies which they do not want to share with people outside of the company
-
You need to
authenticatebefore you can access the registry and all of the big cloud providers have their own docker registries -
Docker Registry versus Docker Repository
- A registry is a service for providing storage and its a collection of repositories
- A repository is a collection of related images with the same name but different versions
Building Custom Docker Images
-
Dockerfileis the file that contains all the commands used to assemble an image from your app -
In the root of the application create a new file called:
Dockerfile -
Anything that you need to run your app is what you also need to include as a dependency or env variable in your dockerfile. For example, you have a backend server file that needs node js for example to run it locally you need to do node server.js then node is something that your app depends on
-
So each dockerfile starts off with a Base Image and you choose the base image based on the tools that your application needs - node based app you should use a node base image - python based app you should use a python base image
Structure of a Docker file
-
You can pull base images from public or private registeries so in this example we are going to use a base image from the Dockerhub and we get base images by using the FROM keyword
-
Basically you need to map all the commands you need to run the app locally in your docker file so that this image when it goes to another OS can also be built successfully.
- For example: If you have package.json that means you have node packages that need to install so you need to define this in your dockerfile
- You can run any commands and since alpine is a linux based image you can run linux command but you need to prefix it with the
RUNkeyword. - You also need to copy all of the files that are required to run the application to the container so you need a
COPYdirective - To change the directory of where you want to run commands in your docker container you use
WORKDIR - The last command that is run in a dockerfile uses the command
CMDand it uses [] where you provide the command and the parameters
Building the Docker Image
- Once the dockerfile is complete then inside the project where the dockerfile resides we can build the image:
- the -t is the tag parameter that lets you name the image using the {name: version}
- the last parameter is the location of the dockerfile
- ` docker build - t web-app:1.0 .
- the dot represents the current folder